There’s This Thing About Barbecue (BBQ)

I love food. This is no secret. During 2018, I finally stumbled across BBQ that I truly found amazing — Iron Pig Alehouse.

In San Diego, we have this place called Phil’s BBQ. Most people love it. I like them well enough, but wasn’t as emotionally impressed as so many people talk about it. Heresy, I know 😉

Nevertheless, I stumbled across some BBQ YouTube videos (later to be linked)… and, saw something called Texas style BBQ Brisket. It intrigued me.

Juicy. Beef. BBQ smoke flavors. Not dry. Not over sauced. Done deal… IF, it held up to its reputation. Iron Pig, did.

Hence, started my journey of rabbit holes on how to best do BBQ at home. Now, this started back when we were still in the condo — and, their HOA rules did NOT allow for wood fires. Sad beans. Fortunately, as will be explained in a later post today (this New Year’s Day 2019 super release series)… we moved! AND, I got myself a BBQ offset smoker.

Here are some of the early results.


View this post on Instagram

Sunday afternoon backyard #barbecue. #babybackribs #porkbelly #bbq #barbeque #marshmellow #smores #FAMILYTIME

A post shared by Ben Fung (@drbenfung) on


Reflecting On My Home BBQ Results:

  1.  I’ve cooked two hole briskets so far. The first one on Father’s Day 2018… EPIC. Basically perfect. The 2nd one, I some how didn’t control the heat as well… and, it came out super dry at the flat — the point was “okay.” The fat could’ve been rendered a bit better.
  2. Pork Shoulder or Pulled Pork is something I’ve gotten right every time. It’s pretty forgiving. And, I was able to feet an entire contracting crew during the wrap up of our new living situation’s refurbishment.
  3. Pork Belly. I REALLY need to figure out how to make the skin crispy. I love all these meats, but pork belly… I LOVE it because it reminds me of my paternal grandmother’s Taiwanese style stewed pork and rice. But, I like the crispy skin because of the Cantonese/Hong Kong style foods I’ve grown to love being a West coast kid. So, this is my next big project… making BBQ belly CRISPY.
  4. Ribs. RIIIIIIBS. Ribs, specifically baby back over spare… are probably my best work to date. I’ve gotten super consistent with them and have messed around with various styles of rub and sauce / no sauce. Suffice to say, Trader Joe’s Carolina Gold is probably the best finishing sauce I’ve found and creates a really nice glaze without glopping the rub.

BBQ videos. Here are some of my faves:

  • Franklin BBQ. Be sure to check out their brisket, pulled pork, and ribs series. [Watch: https://www.youtube.com/user/BBQwithFranklin]
  • Why The Best Southern Barbecue Takes Weeks To Make [Watch: https://www.youtube.com/watch?v=39ii9LvnDoE]
  • Best Offset Smoker Modifications | 6 Easy Mods [Watch: https://www.youtube.com/watch?v=1dnnyyg6Sqg]

How much is this method of cooking is art or science or honoring the legacy of the past? Probably a bunch of all. Ultimately, barbecue is generally accepted to have been around since human’s have eating meat over fire. Nevertheless, it’s fun to tinker with… try… fail… try again… and perfect one’s method to making some wood fired meats.

French Onion Soup

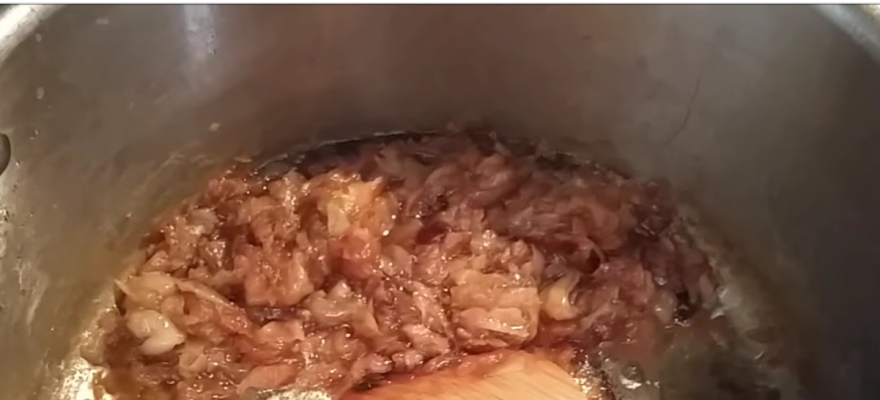
There are fewer soups as simple and as sublime as French Onion Soup. And, as we are in Winter… there are fewer soups that are so comforting. As I look back on my mastery of this wonderful taste, I’m recalling how my roommate in college (to this day) still recalls the entire summer where I bombarded a whole city block with the smell of onions — perfecting that soup.

Well, today…! I’m going to share with you a video demonstrating how to cook French Onion Soup. A video that will only take 5 minutes of your time; but, will render you years of your taste buds thanking you for watching.

French Onion Soup in 5 Minutes

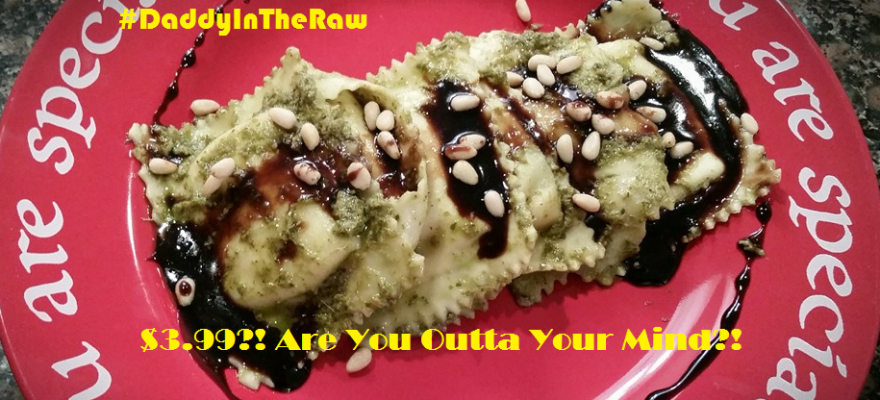
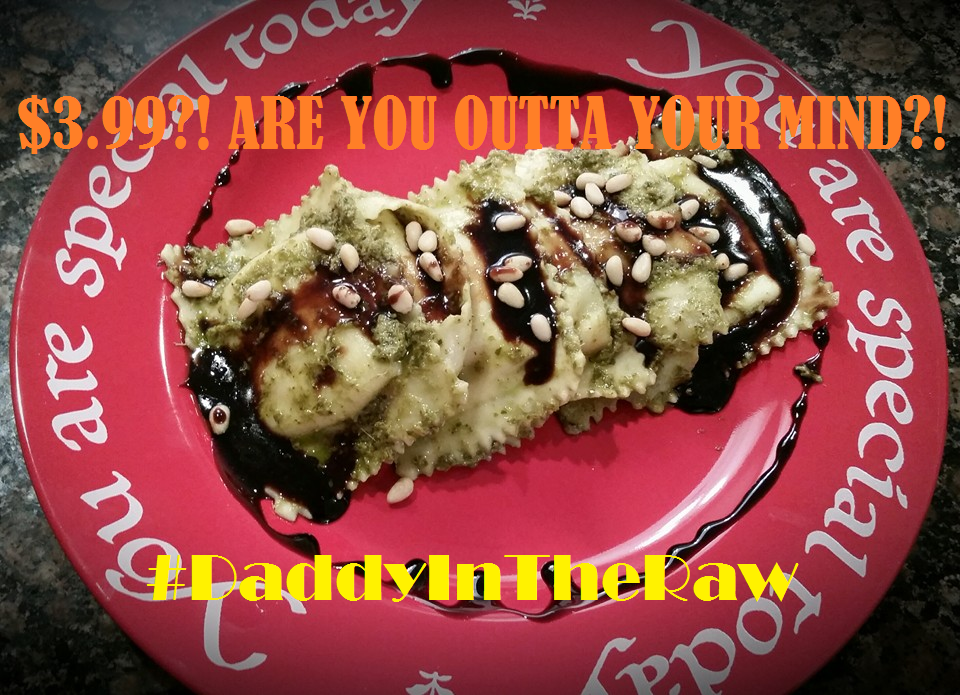
Resort Style Pesto Ravioli with Balsamic Glaze Reduction – $3.99

So, if you don’t already know me, there is something you will quickly learn about me on this blog.

I LOVE FOOD!

And, I love to cook it… probably more. My wife thinks I’m insane. Cooking absolutely stresses her out; but, for me, cooking is a freedom, an art, and an experience to create marvelous things to titillate the senses. This dish is something I hijacked from Disney’s California Adventure from the Disneyland Resort. We stumbled upon this little area in the far corner between the Grand Californian and Paradise Pier. It’s called, Boardwalk Pizza & Pasta. The food was so good that my wife went back for a 2nd serving! LOL… so, naturally, I wanted to figure out if I could replicate it at home.

This post is all about how to make this dish for less than $3.99 dollars in cost per serving!

Resort Style Pesto Ravioli with Balsamic Glaze Reduction – $3.99

What you’ll need:

  • Prepackaged, uncooked, refrigerated 4 or 5 Cheese Ravioli. I got mine from Trader Joe’s for $3 (12-13 pieces).
  • Pre-ground Parmesan Cheese. I also got mine at Trader Joe’s for $2.99 in one of those green shakers.
  • Balsamic Vinegar. Allllllso… from Trader Joe’s (hint where we like to shop). $2.79 if memory serves.
  • Some brown & white sugar from your pantry. We’ll call the cost something like $1 worth of sugar, if even.
  • Fresh made pesto. I got a big hunk of it from Costco for $7.99. For 6 pieces, I probably use $1-2 worth of pesto.
  • AND! If you want to get fancy, you can pick up some roasted pine nuts for near $20/lb. I usually leave this off unless I’m trying to spoil the wife… or, impress company.

So, when we spin this all down, I only use 6-7 pieces of ravioli which comes down to $1.50 in serving cost. The cheese, is negligible and we’ll call it $0.25 as is the balsamic vinegar which we’ll call a similar point of cost. When you add all this together, you’ll get just under $4 in material costs. So, with all that said, it’s time to cook!

The Recipe

  1. Begin by boiling water and putting your ravioli in. I know, I know… you’re supposed to wait for it to boil. Personally, I just do it this way because I’m lazy & because I’m a big rule break. Just get the pasta cooked 🙂
  2. Pour about 3-5 tablespoons of balsamic vinegar out onto a frying pan or sauce pan. Put the heat up to about medium or medium high.
  3. Add 2-3 tablespoons of 50/50 white/brown sugar into the balsamic… this will become your glaze.
  4. And… WHISK! Whisk like your life depended on it. DO. NOT. STOP.
  5. Okay… now you can slow it down.
  6. Once the glaze starts to boil, you’ll need to carefully manage the heat so that you don’t over reduce the glaze or just plain caramelize (aka burn) the poor thing into a molasses oblivion — PS. Keep whisking.
  7. To do this, put the heat down at low or medium-low and still whisking the sillies out of the glaze, moving it periodically onto and off of the heat. It should get to a consistency where by tipping the sauce pan, the glaze slowly moves from one side to the other much like a syrup would. That’s how you know you got it!
  8. Okay. By now, your ravioli is ready so strain those puppies out and make sure they are relatively dry on the outside.
  9. Mix in your pesto with the ravioli, gently… usually I use two spoons and gently toss them in a mixing bowl so I don’t break open any raviolis.
  10. Once this is done, start your plating. Dust the top of the raviolis with some Parmesan cheese (or grate it, if you like to be fancy).
  11. Then, pour the glaze over the top of the meal. I like to do a line down the middle and around the plate just for the visual effects. The extra glaze, I pool to the sides if possible.
  12. Finally, if you want to be extra fancy, sprinkle some roasted pine nuts on top as the finishing touch!

bon appetit!

pesto rav